AOVPN: How to use Task Scheduler to Deploy the VPN_Profile.ps1 Script
If you want to know how I used task scheduler to run the AOVPN VPN_Profile.ps1 script then read this post.
I am in the middle of a migration project from Direct Access to Microsoft Always on VPN and so far it’s going really well. Both VPN solutions are running side-by-side until I complete the user migration.
In my early days of testing though, I was working from home and wanted to test all of the tweaks and fine-tune adjustments to my VPN_Profile.ps1 script without having to deploy from Configuration Manager each time. (Some of the tweaks I was testing included adding routing, configuring NPS failover and certificate filtering and these will become blog posts in their own right soon.)
Non-Admin account? No Problem.
My test user account did not have any local or domain administrator privileges and I needed a method of quickly redeploying the tweaked VPN_Profile in order to test the new configuration.
I did this through a scheduled task - it’s easy enough to do and this is how I achieved it:
Step 1: Generate the VPN_Profile.ps1 Script
Follow the methods in the Microsoft documentation to generate your VPN_Profile.ps1 script.
Step 2: Obtain the SID for Your Test User Account
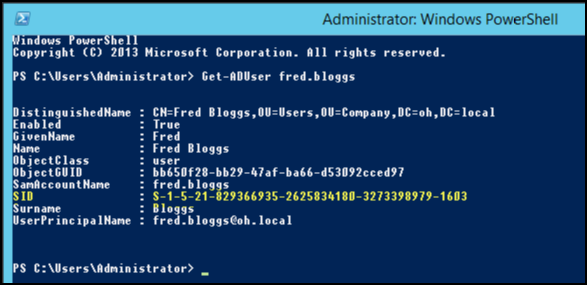
Obtain the SID for your test user. To do this, in a PowerShell prompt, run the following command:
Get-ADUser fred.bloggs
Replacing fred.bloggs with the name of your test user account.
Make a note of the SID from the PowerShell output:
Step 3: Edit the VPN_Profile.ps1 Script
Open the VPN_Profile.ps1 script in the ISE of your choice.
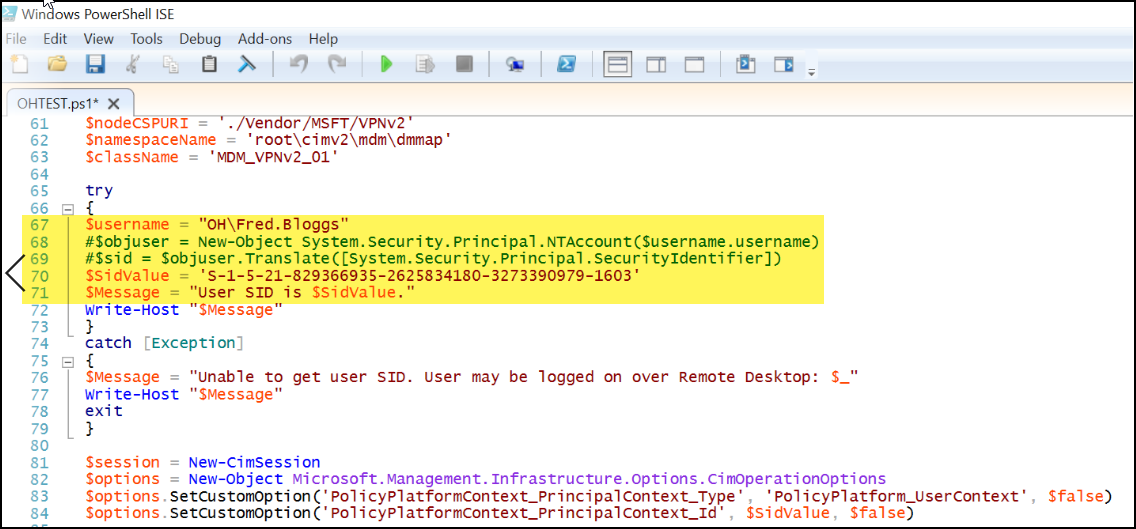
In the first ‘Try \ Catch’ block in the script, edit the lines as shown in my screenshot below.
Essentially the following adjustments need to be made:
- Set the variable $Username to domain\Username eg Mydomain\fred.bloggs (Line 67 in my screenshot) This user name should be your non-privileged test account user.
- Comment out (by placing # in front of the line) the lines that start with $objuser and $sid (Lines 68 and 69 in my screenshot)
- Set the variable $SidValue to the SID you obtained from step 2 (Line 70 in my screenshot)
- Save the script
Step 4: Create a Scheduled Task
-
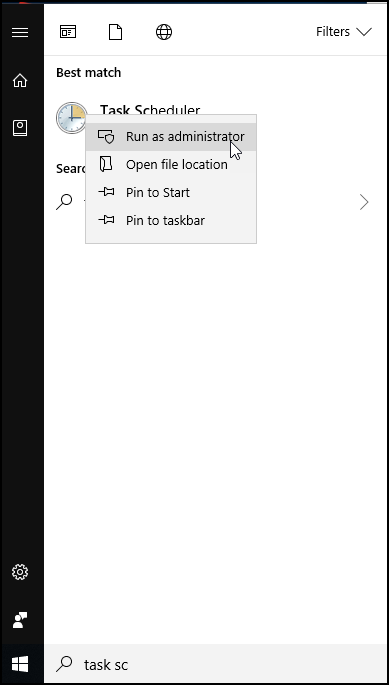
Whilst logged in as your test user account, open Task Scheduler using an account with local admin rights:
-
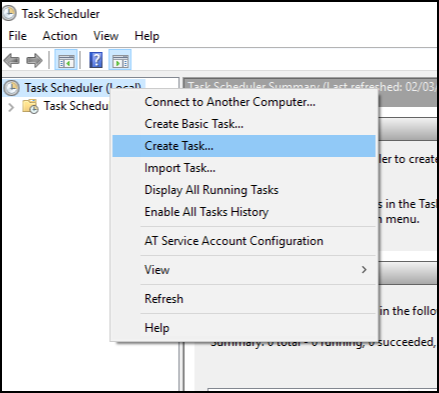
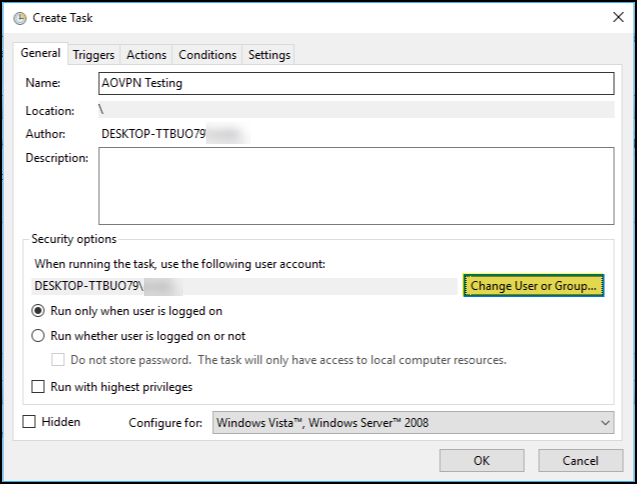
Right-Click the top node and select Create task…:
-
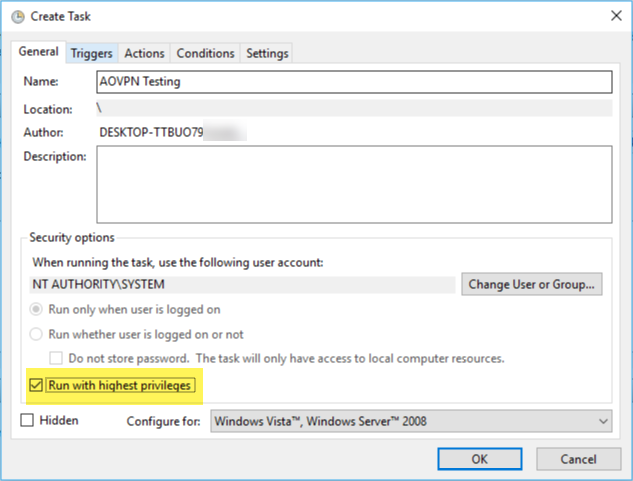
Give your task a name, in this example it’s called AOVPN Testing and then click the Change User or Group… button:
-
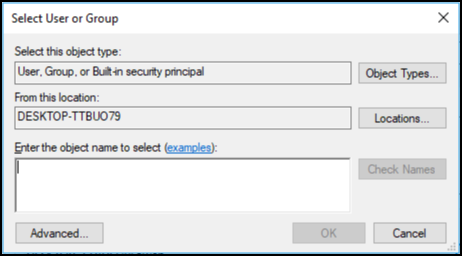
The Select User or Group dialog box is displayed:
-
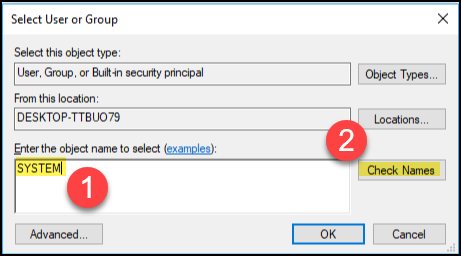
Type SYSTEM and then click the Check Names button:
-
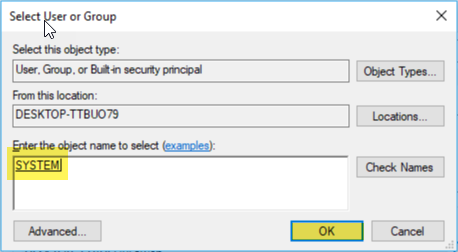
Ensure that SYSTEM becomes underlined, then click the OK button:
-
Back on the General tab, ensure that you tick Run with highest privileges:
-
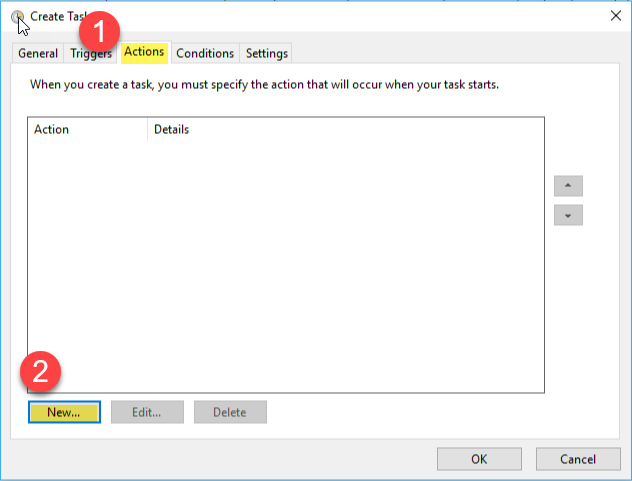
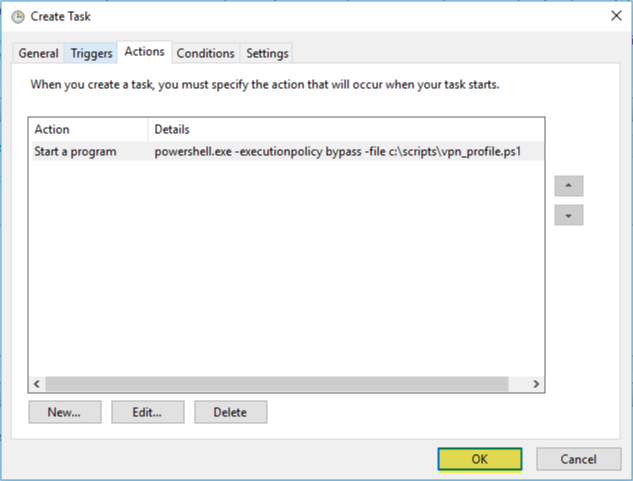
Select the Actions tab and then click the New… button:
-
Type the following in the Program/script text field:
powershell.exe -executionpolicy bypass -file c:\path\to\your\vpn_deploy.ps1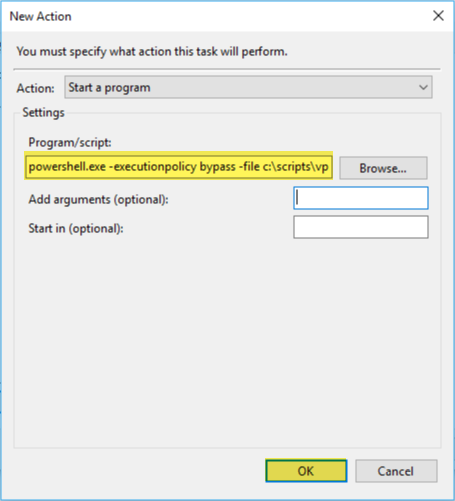
-
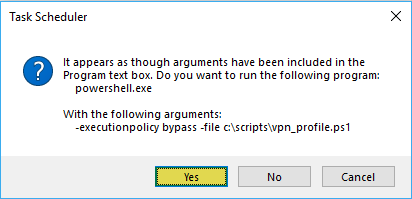
Click the Yes button when prompted about the arguments:
-
Check that you have not made any typos, then click the OK button:
-
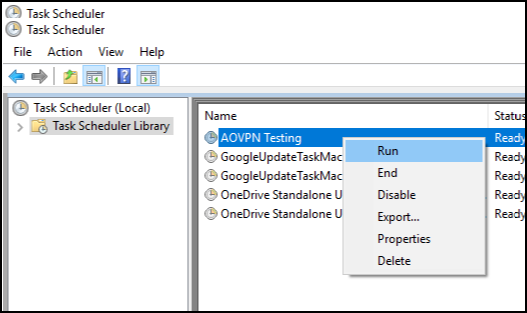
To run the task, simply right-click it in the list of tasks and choose Run:
Anytime you make a new change to the VPN_Profile.ps1 script, delete the existing VPN connection settings, launch an elevated Task Scheduler and run the scheduled task again.
“Understanding Microsoft Intune: Deploying Applications Using PowerShell” is available for purchase at all good book stores and online outlets. Don’t miss out on the opportunity to take your application deployment skills to the next level. Get your copy today!
